This is continuation of the series of articles I have written about git and using it for industrial automation projects.
Every automation shop eventually gets to a point where they need some sort of central library of code or central project file store. Eventually you need a way to share files, share projects, or archive and backup important code so it does not get lost. Many companies work with a shared network drive, some are using online cloud storage (Dropbox, Box, etc.). Git to the rescue again.
Git remotes are useful for maintaining a central code repository or sharing a project with others. Github is likely the best known git remote. If you have a large organization you might find Gitlab or just a SSH server more to your liking since you can then store everything on premise and keep your data ‘in house’. A git remote will not replace regular or good backups but they can be really convenient when sharing programming projects.
For this example I am going to use a Github project as my remote source. The project is called basicRTUdemo. This way you can interact with my project as well by ‘cloning’ the repository. The project was started with only a README.md file.
![]()
Gitkraken makes it really easy to work with Github projects since you can sign into your Github account in the app. Sign in with Github inside Gitkraken as this will setup the required SSH keys. I am already signed in and there is good help online for this so I am going to skip ahead a little.
To clone a repository onto your computer you need the SSH URL for the repository. Click on the green “Clone or download” button on the Github website. Then copy the URL in the box that pops up.

Open up Gitkraken, open the File menu (top left) then click on Clone -> Clone with URL.
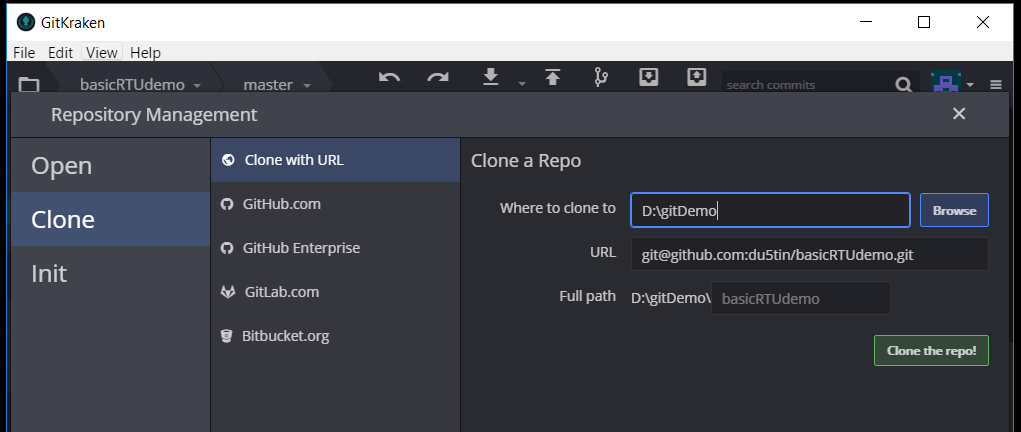
Pick a location for the project on your computer and paste the URL into the box for URL. Then click on Clone the repo!
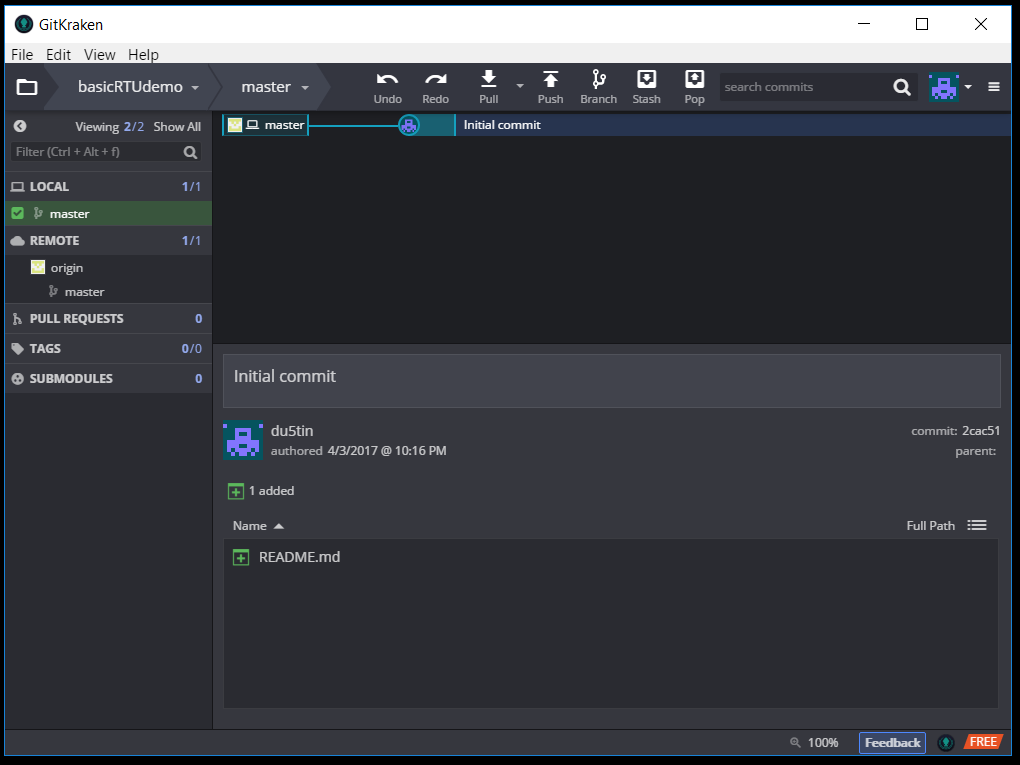
Gitkraken will go to work and when it is finished you will see a dialogue across the top asking if you want to open the cloned repo. Click Open Now.

Now you can see the project on your computer in all its glory. Right now it only has one commit but its all here.
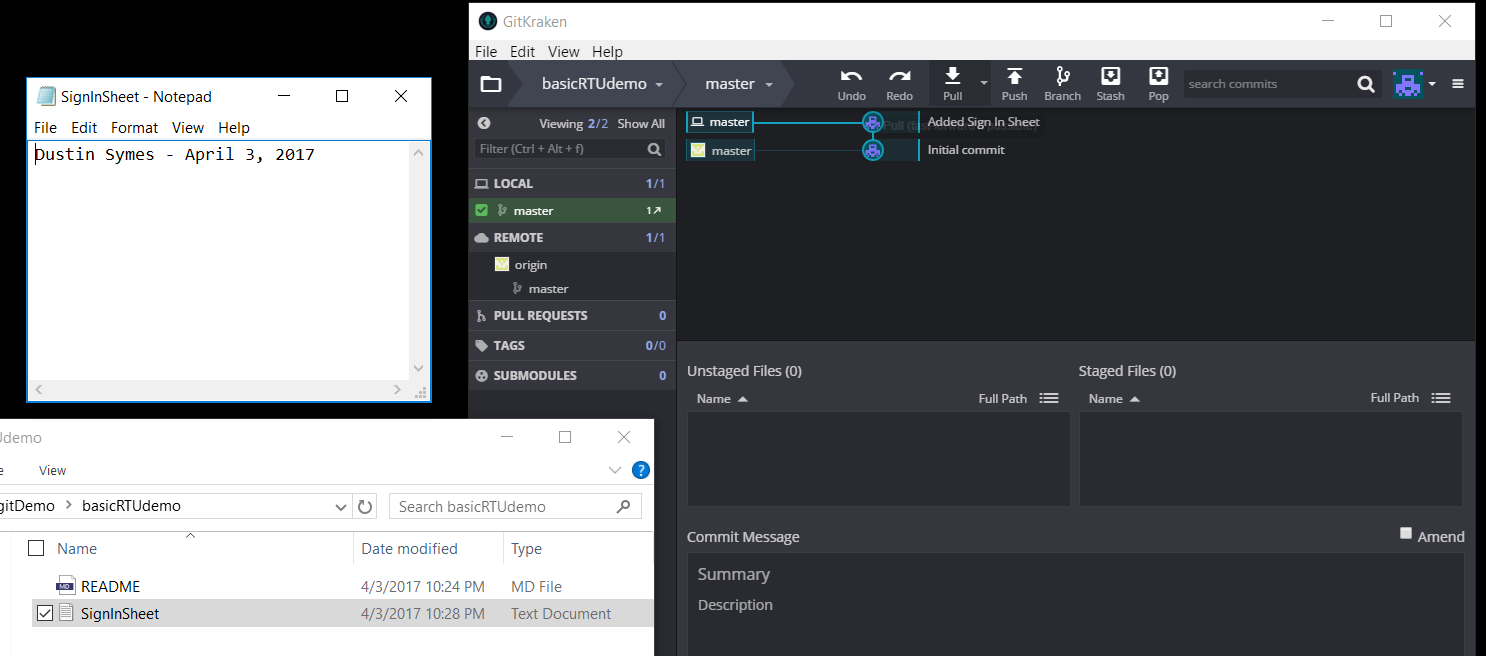
I am going to add a text file to project, stage it and then make a commit. Now you can see my local computer is ‘ahead’ of the remote master branch. This is great because I can now see where the remote repository is at and if I am ahead or behind.
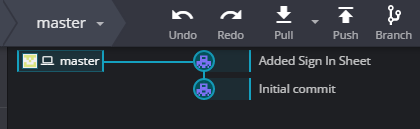
Next because I am wanting to keep the remote as up to date as possible I am going to ‘Push’ my changes to the remote. Click the Push button.

Because I own this repository my changes are pushed up and now my git repository and the remote repository are in sync (notice the two icons are together).
If the project moves ahead of where you are you might be asked to do a “Pull” request instead. This is a more complicated procedure that we will handle in a later article.
That is just scratching the very surface of what is possible with remotes and syncing various git repositories. There is a lot more to learn here and I will cover that in later articles.