ClearSCADA was one of the first SCADA platforms to have a fairly complete and stable web based thin client. It has stayed the same through the years and is lagging behind a bit with lack of full graphics support on HTML5, but it is consistent and works well in a Windows environment.
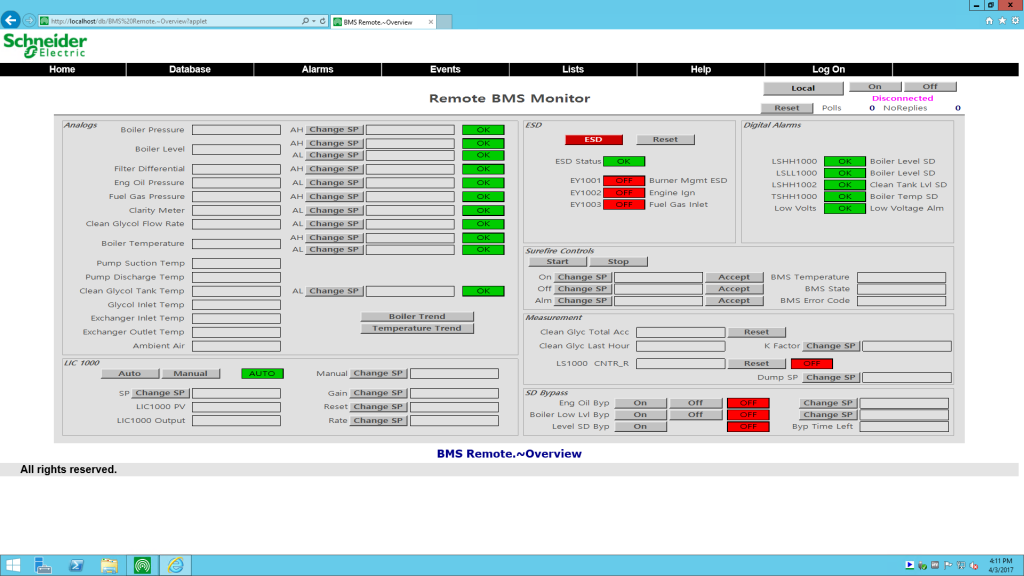
One of the most common complaints I have heard about WebX is how it limits the amount of space available on screen by including a fairly thick header and a good chunk of white space under the applet. This squishes the applet into a space that is about 2/3 the height of most screens. See below; this example graphic is sized for 16:9 but it still looks a little squishy with ‘fixed’ graphical layers. Look at all that available white space!
Here are some instructions that will get some more real estate out of your browser window.
**NOTE: Backup your files first and check changes in a development non-production environment first! This is not an official change from Schneider Electric and tech support may not be able to help you out if you break your WebX pages if something unfortunate happens. User beware.
** NOTE: These changes can be wiped out upon a re-install or upgrade of ClearSCADA. If you need to keep these changes between versions make sure you add this to your upgrade procedure.
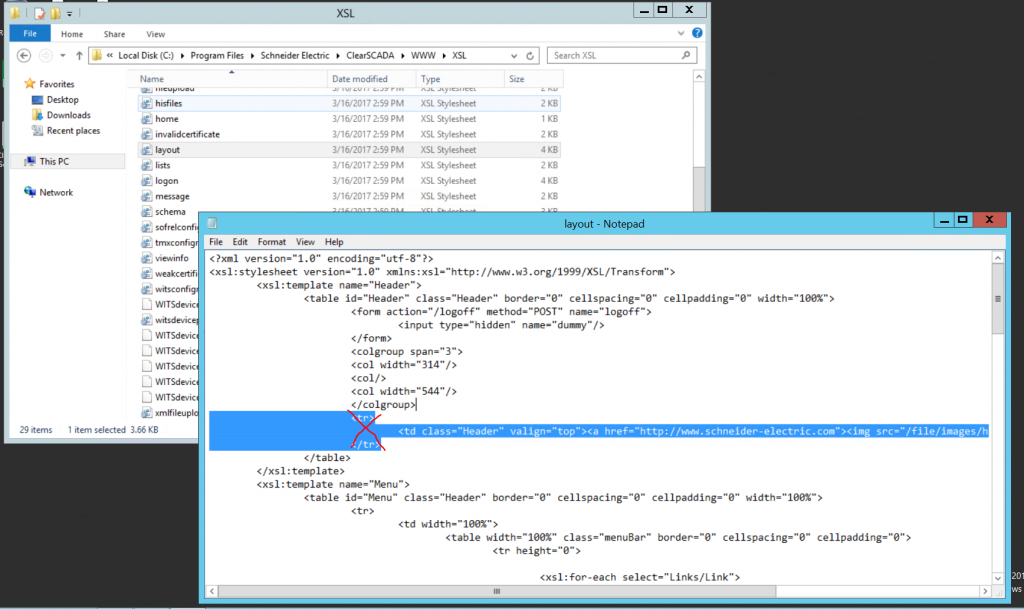
Step 1 – Locate and edit Layout.xsl
Navigate to C:\Program Files\Schneider Electric\ClearSCADA\WWW\XSL\ and edit layout.xsl.
Delete the code for the header with the Schneider logo. Sorry, not sorry Schneider.
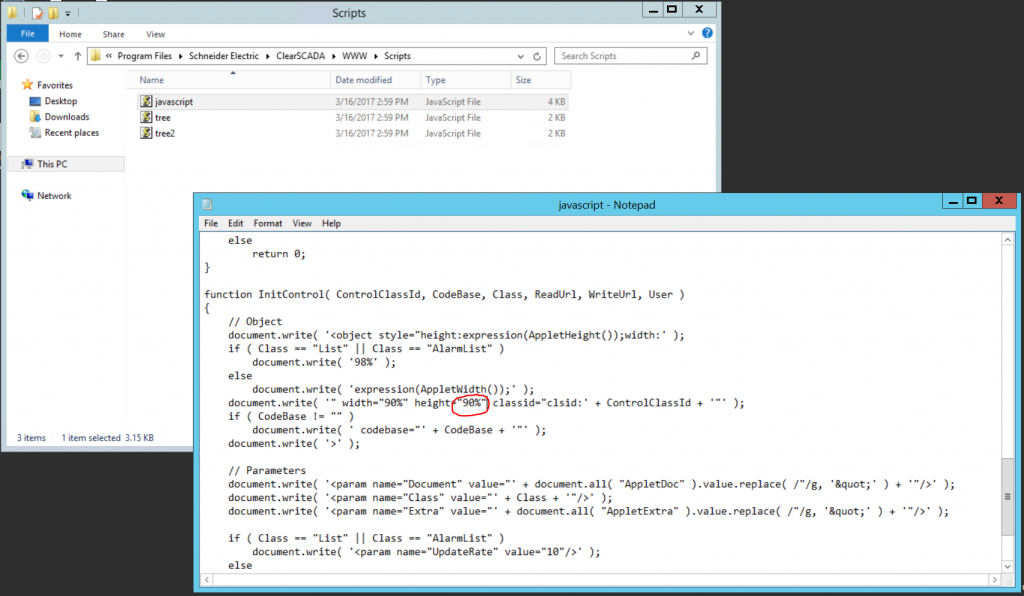
Step 2 – Locate and edit javascript.js
Navigate to C:\Program Files\Schneider Electric\ClearSCADA\WWW\Scripts\javascript.js.
Scroll down to the lines that control the WebX applet size. Change the height from 70% to 90% to make it fill more of the available screen space.
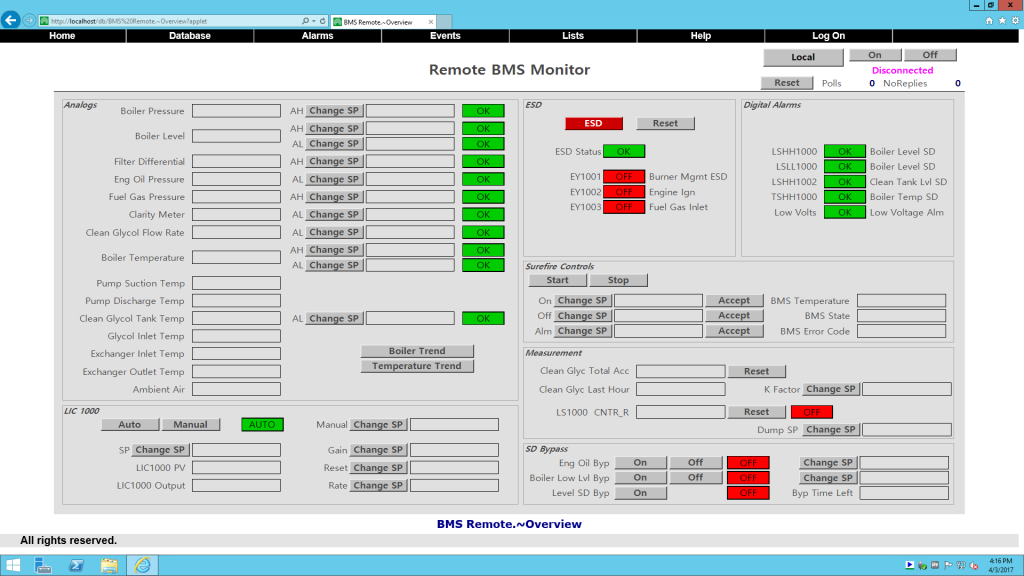
Now your WebX applet should occupy a larger area on screen!
I have tested this on a few different versions of ClearSCADA. Works on CS2017, CS2015R2, and CS2015R1. The changes should work on previous versions of ClearSCADA as well.